


The December Adventure is low key. The goal is to write a little bit of code every day in December.
Welcome to my December Adventure log! I’ll try to update it with a little bit of progress every day this month. I don’t have a specific project in mind to focus on, but I have a few ongoing ones that I can share some updates for.
Day 1: Shine Through Outlines
Shine Through is a Pebble watchface I recently released. I was actually going to write a separate post about it, but here’s the summary:
- Pebble is the best smartwatch ever made (according to my standards).
- I wanted a new watchface for my Pebble Time Steel.
- After playing around with some watchface design concepts that were floating in my head, I landed on a digital clock with hours and minutes overlapping each other.
- After a few days of development, I had implemented it on Pebble.
Shine Through
But if it already exists, why am I bringing it up for December Adventure? Because “released” is not the same as finished. Right now, this face only supports the Pebble Time and Pebble Time Steel, because it needs the colour screen to work, and I haven’t bothered with new assets and/or layouts for the other possible screen sizes.
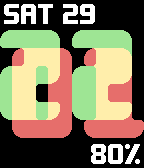
So that’s one goal during DecAdv. Today’s project is not that, but it is an important step towards making the face look good on black and white screens – outlines for the digits. I want to add an option in the watchface settings to turn on outlines around the digits with custom colours.

A mock-up of the outline feature
I’ll update this page later once I work on the implementation :)
Hey, it’s me again! I finished implementing the outline feature. It came down to a handful of steps:
- Create some prerendered outlines. I did this very quickly in Aseprite the same way I did it for the mockup above - select the digits, expand the selection by 1px, then border it by 2px.
- Boring settings updates. I’m using the Pebble Clay configuration framework, so I can expose these new settings to the mobile app by adding a couple of items to a JSON list. This step also involved creating new message keys, expanding the persistent settings structure, and adding all the plumbing that lets me get settings from phone to watch.
- Render some outlines! For this, I used the prerendered outlines I mentioned above with a bitmap in
1BitPalettemode. That way I can switch the colour of the outlines really easily. There were some tricky details around layout and enabling transparency, but everything came together nicely.
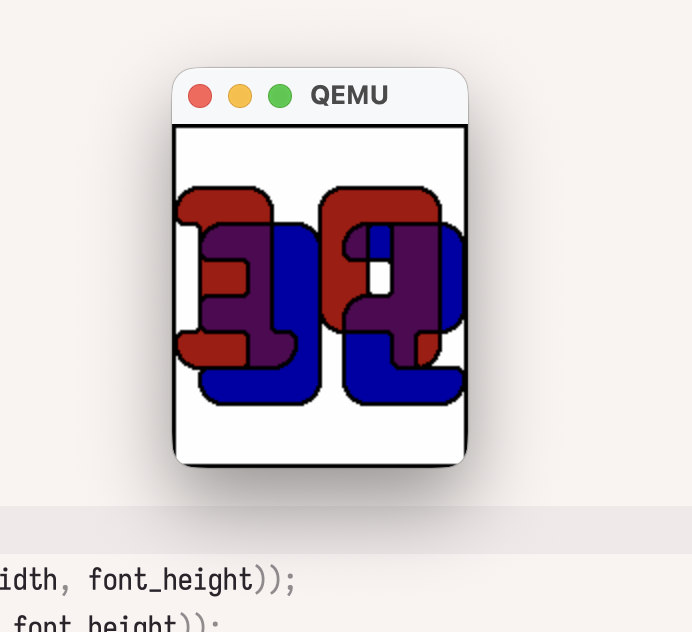
I didn’t get the colours quite right for this screenshot.
The code changes are on GitHub.
Day 2: Black and White
I’ve got a bit less time today, but I want to get started on supporting black and white Pebbles. I’ll get started by just… enabling the aplite (Pebble Classic) platform in package.json:
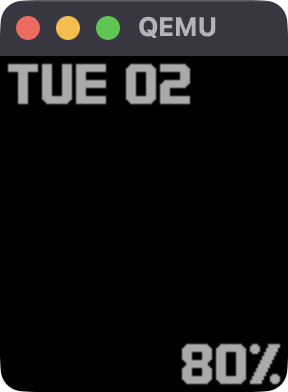
Something’s missing…
Honestly I half-expected a completely blank screen, so I’m already exceeding expectations. A bit of debugging later, and I found that I don’t have enough memory to allocate the GBitmap that I render the time into. I also tried enabling the diorite platform (Pebble 2), which should have much more heap space available, and it worked.
I could leave it at that, and support Pebble 2 without supporting the classic watches, but that feels a bit lazy. Instead, switching the bitmap to GBitmap1Bit format allows it to allocate successfully on the classic watch. Of course, my rendering code directly manipulates the bitmap data to draw the time, and the 2bpp code won’t work on a 1bpp image. Quickly switching out set_2bpp_pixel for a new 1bpp version got me this:

Sort of recognisable?
Tomorrow I’ll need to start actually putting this stuff behind conditional compilation so that I can support both colour and black/white screens.
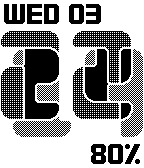
Day 3: Dithering
Alright, slapped some ifdefs around things and got the same app building for both Aplite/Basalt. I also wrote a very simple ordered dither for black/white mode. At this stage I didn’t have a way to customise the dithering result, but that should pretty much be an additional lookup table on top of what I already wrote.
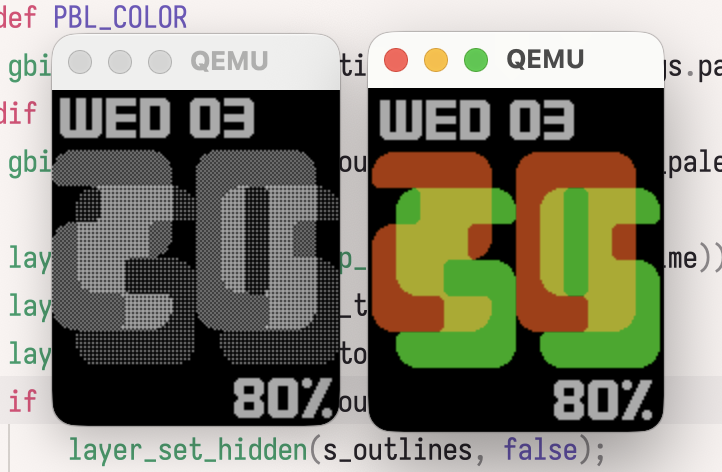
Shine Through running on both platforms
The bigger issue with customising the colours on Aplite is that Clay, the Pebble config framework, doesn’t have a built in way to select dithering patterns. For colour screens, I could just add a type: "color" option and have the entire palette available, but the closest built in feature for black/white is the allowGray flag which enables a single additional gray shade.
I ended up using a custom layout option for the colour selector, because that way I can keep the nice visual element of a colour picker while supporting my own colours. On the watch, when I receive the config, I convert from the full colour value to a single byte from 0 to 4. Thankfully the Clay config comes from a JavaScript file, so I can add some logic to automatically update the options for black/white platforms, which wouldn’t be possible with plain JSON.
Some final fixes for the top/bottom text, and I have a working Pebble Classic watchface (which should also run on Pebble 2). Hopefully I’ll get that out onto the Pebble appstore tomorrow :) The code is on the aplite branch.
Update Dec 5: That branch is gone, and black/white mode is merged into the main branch now.
Shine Through on Aplite, for real!
By the way, tomorrow’s entry might be short, I’ve got a work Christmas event :P
Day 4: All the platforms!
For release 1.2 of Shine Through, I actually want to support all Pebble platforms, including Chalk (Pebble Time Round) and Emery (Pebble Time 2 🤩). I spent the evening finishing up those platforms. Chalk was surprisingly easy, I just disabled the top and bottom text layers and it worked. I wish I could say I planned for the digits to fit perfectly within the bounds of the PTR’s 180px diameter screen, but it was really a happy accident. Pebble Time 2 is basically like Pebble Time, but with a bigger (and higher DPI) screen. To support it well, I redrew the digits at a higher resolution for nice curves, and adjusted the positioning of the text layers (using the same font for now).
Everything is almost ready for release, but I need to do some final testing and clean-up. If you want to test it early, you can download the PBW and sideload it.
Day 5: Release Day + New Project
I fixed a few final bugs in my watchface today, and released 1.2 to the Rebble app store.
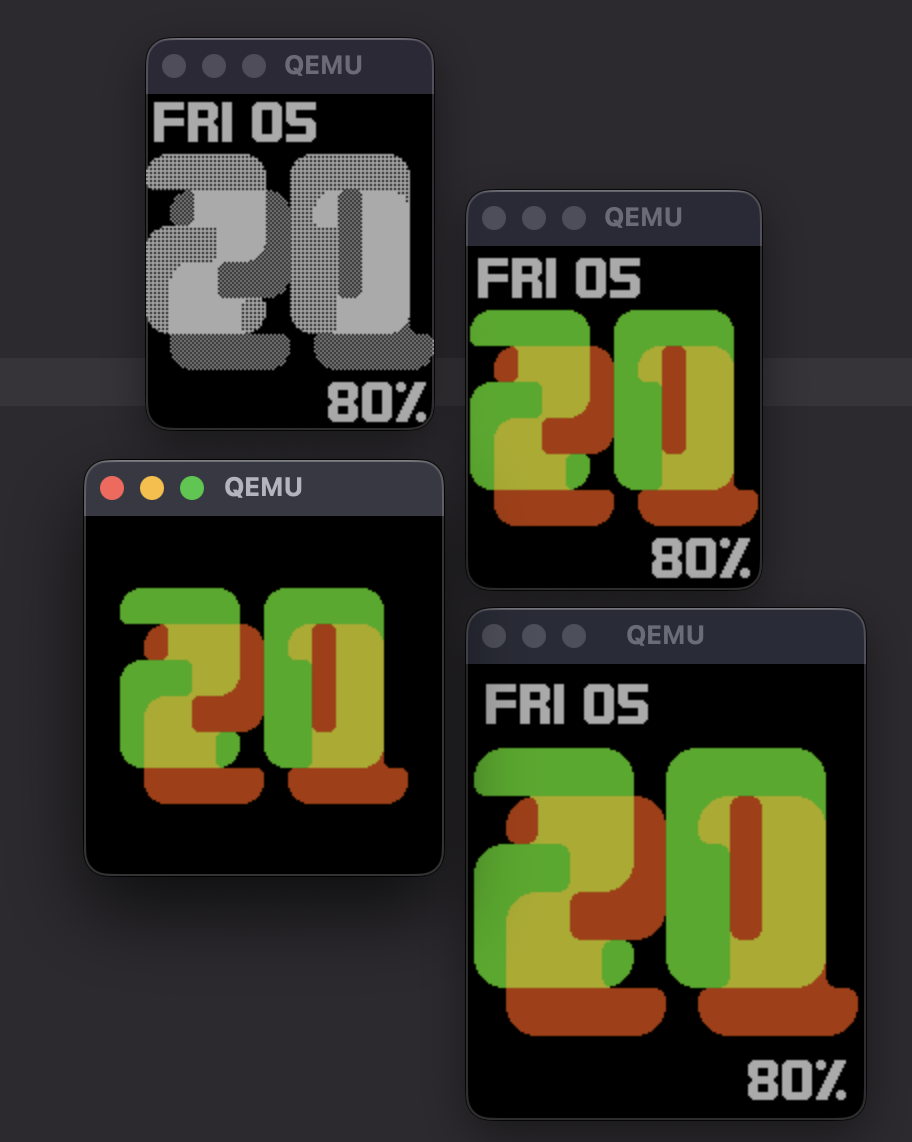
Family Photo (using default settings)
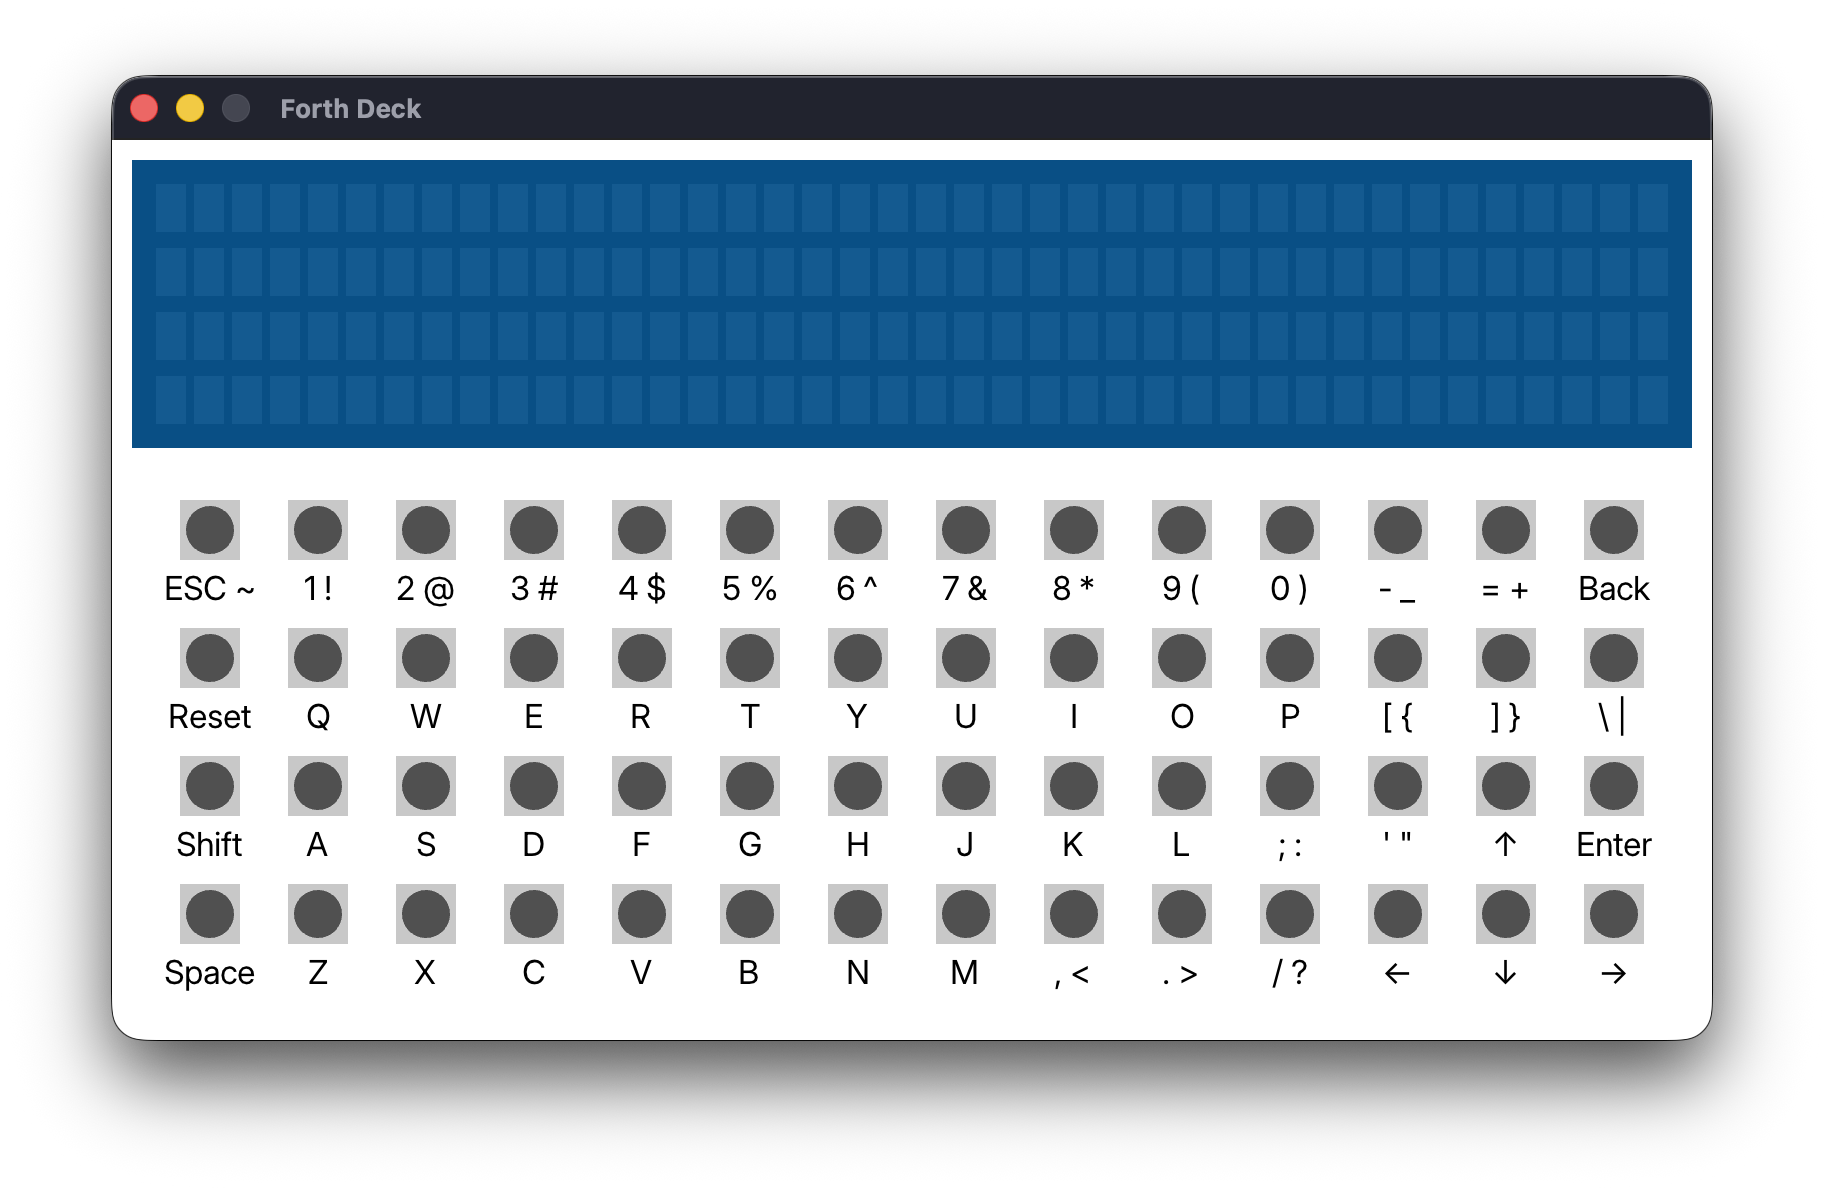
Shine Through 1.2 checks off the remaining items from my to-do list for the watchface, so it’s time to move on to a different project. This is one that I’ve been exploring on and off for a while now, and there’s still a bit to do on it. For background, My4TH is a very simple single board computer built entirely from discrete 7400-series logic chips. It also features an optional expansion board called the Forth Deck with an LCD and keyboard. Sadly, the Forth Deck kit seems to have been sold out for a while, but I believe all the design files are freely available.
For a while now I’ve been developing an emulator for My4TH and the Forth Deck called “Your4TH”, at least until I think of a good name. The My4TH software kit already includes a simulator, but this has a couple of issues. First, it’s a low-level simulator, which is great when you want to generate precise captures of every signal on the board, and less great when you want to run the emulator without maxing out a CPU core (or when you want to port it to a microcontroller 🤔). Second, as far as I can tell, it doesn’t emulate the Forth Deck’s LCD and keyboard, only the basic serial output from the My4TH board.
Here’s where this project was up to before December:
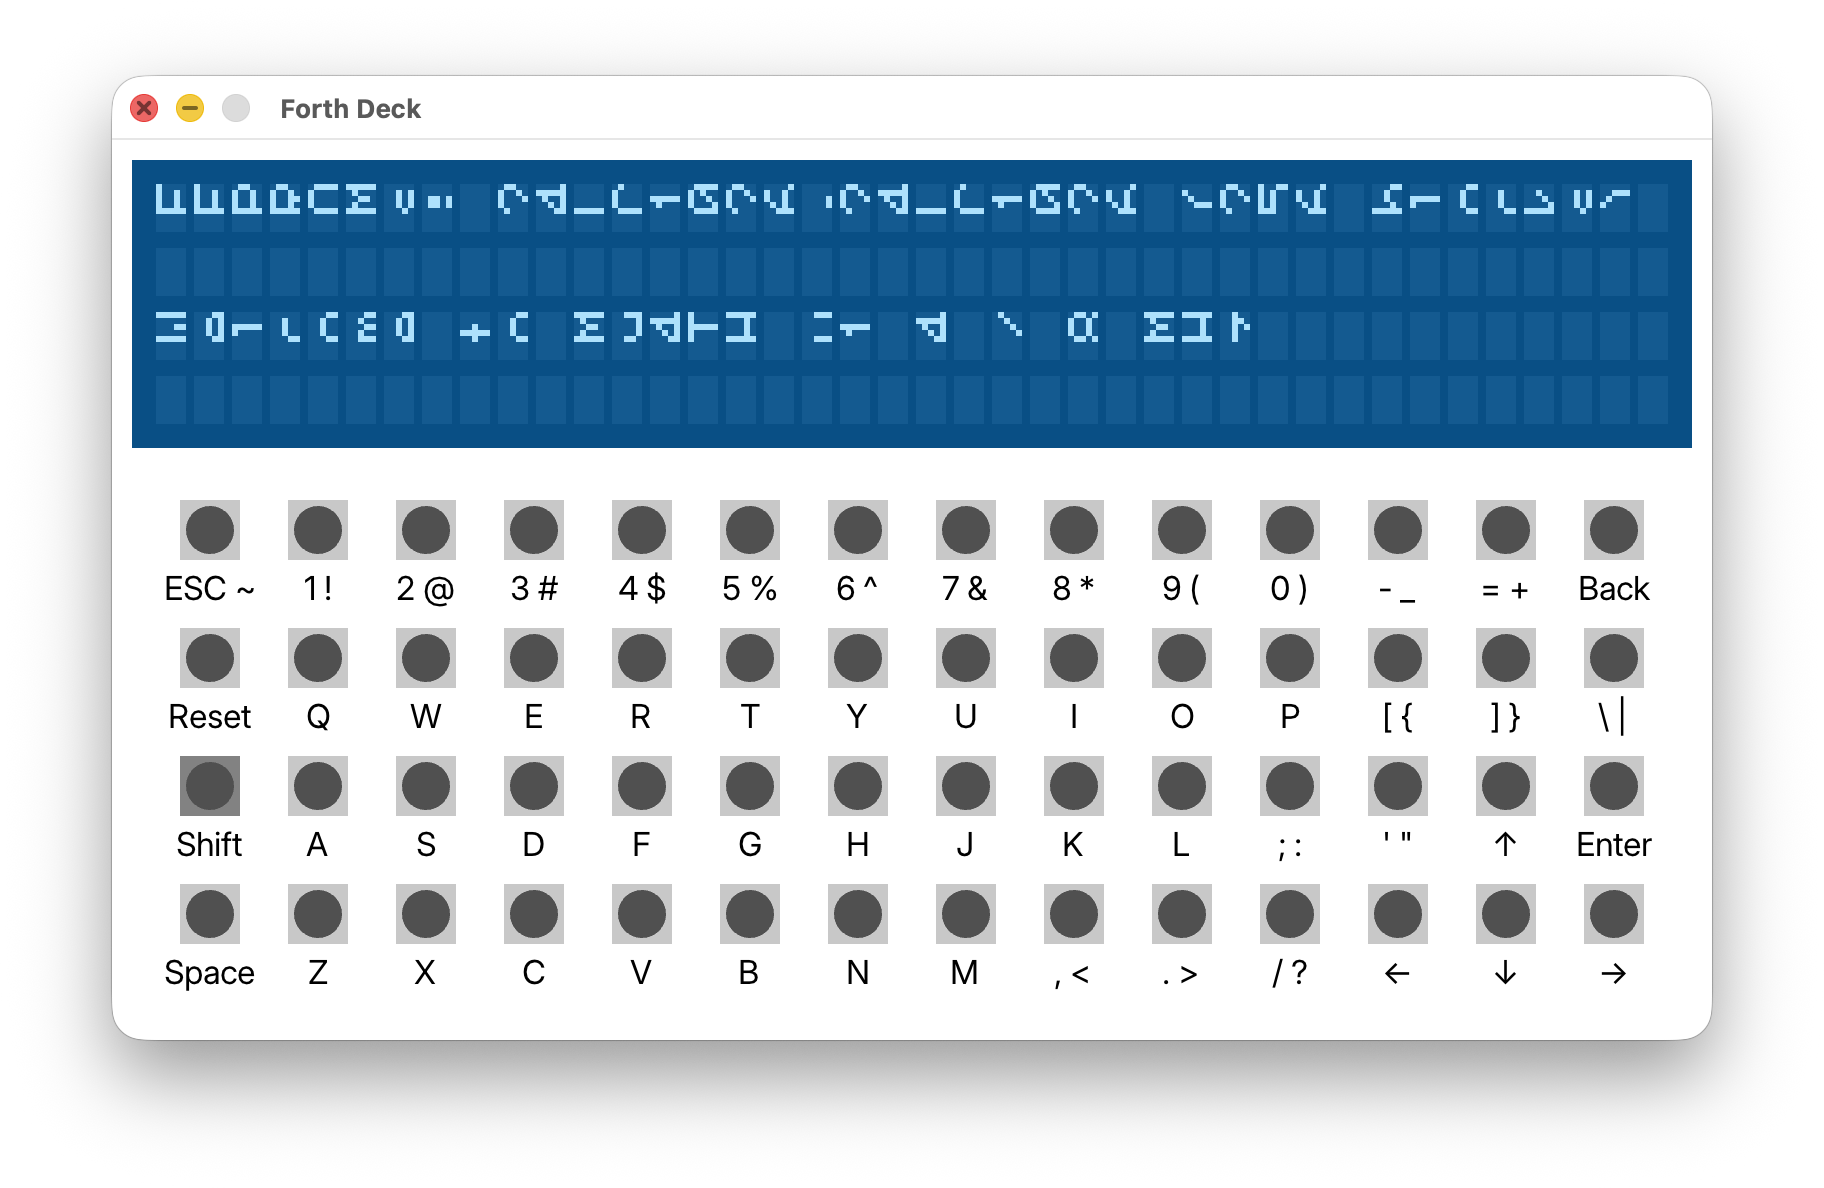
Behind the scenes, I have full CPU microcode emulation working, as well as UART via stdin/stdout, and a virtual I²C bus with EEPROM chips for persistence. When the Forth Deck UI is up though, I can’t see any of that. In theory it’s still running the My4TH ROM, but since I haven’t yet touched emulation of the display controller or the keyboard matrix, there’s no visible output.
This evening, I started by just trying to emulate some of the glue logic on the Forth Deck board, and calling out to functions that will eventually emulate the LCD and keyboard state. It seems to be working well, and I should be able to move on to building up the state machine for the LCD controller (which is not-so-secretly two identical controllers) tomorrow.
Day 6 & 7: LCD Emulator
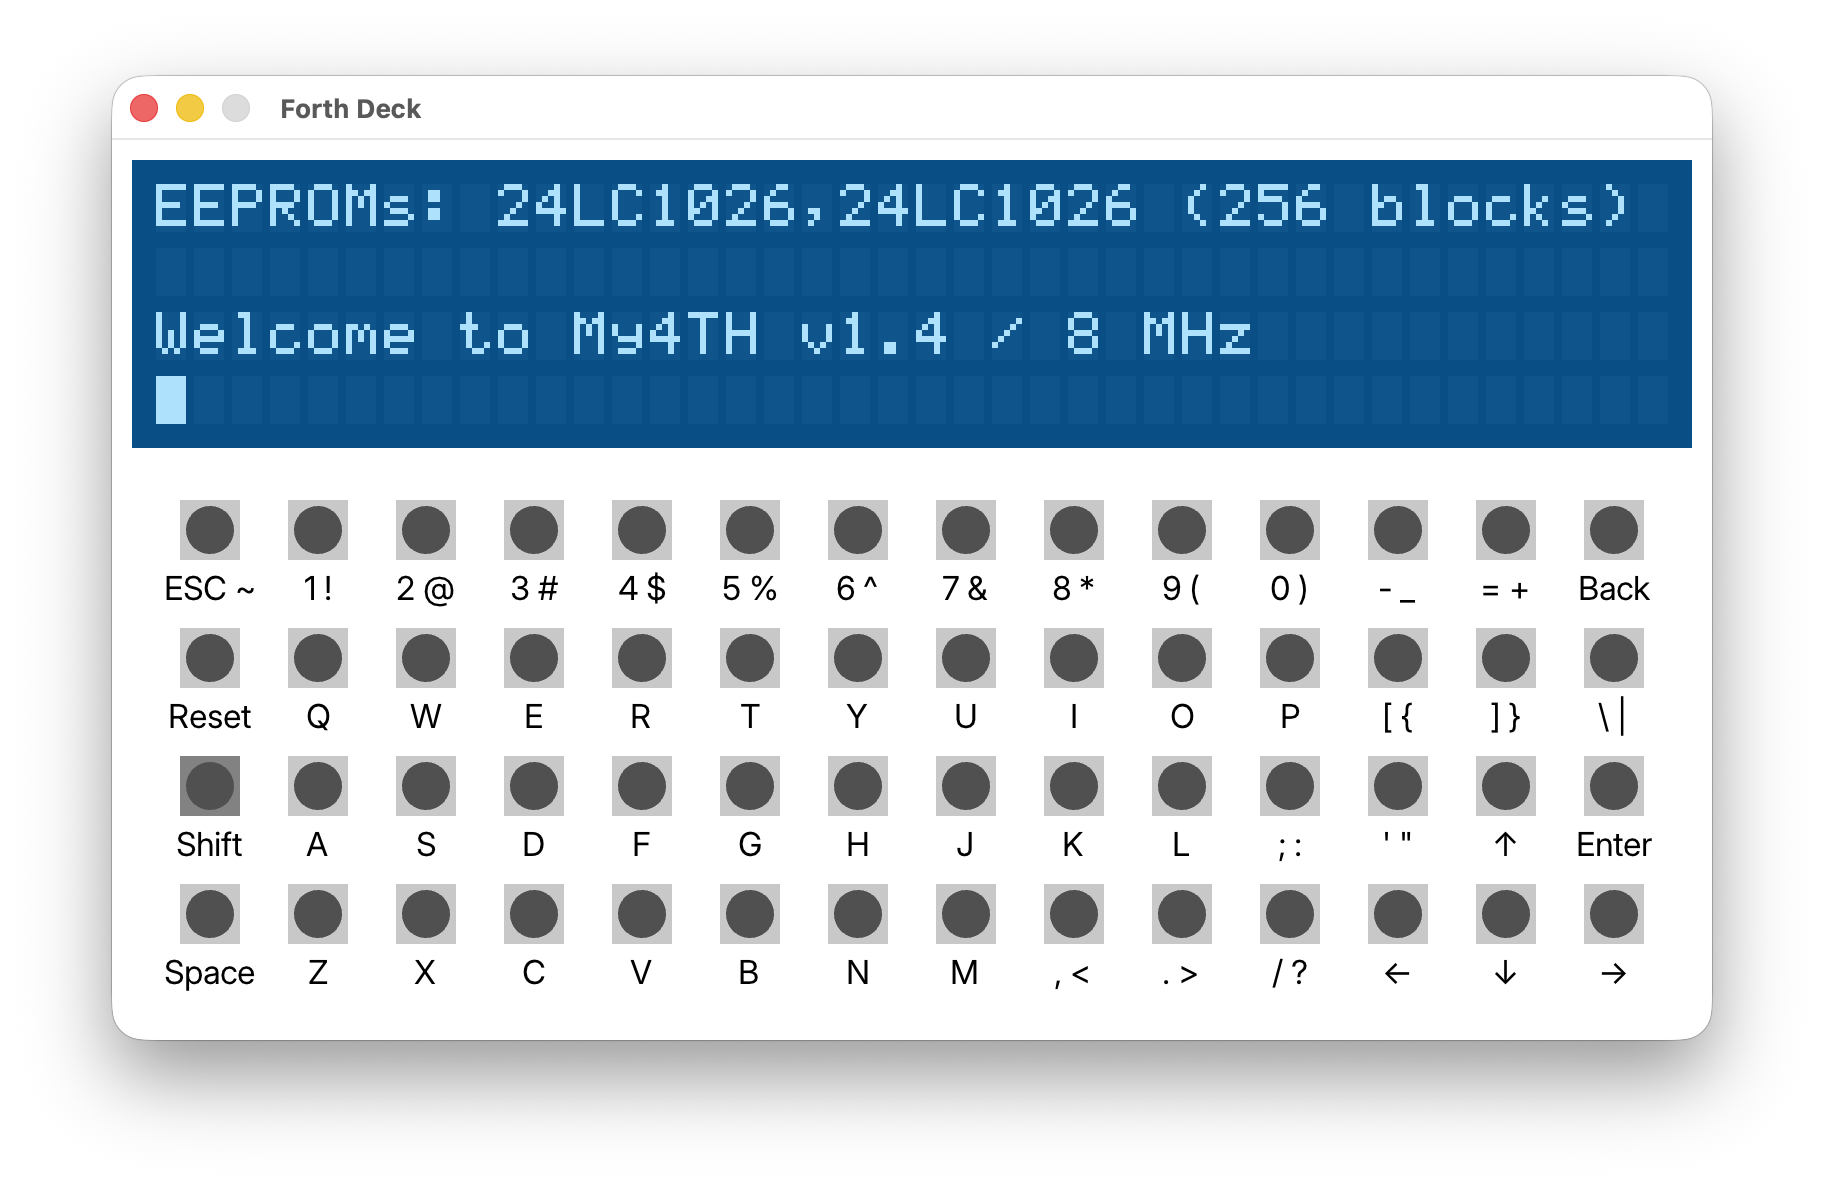
I’ve been busy with some other things, so this is a combined update for the last two days of work on Your4TH. The Forth Deck uses a 4x40 character LCD. There are many available models of this type of display, but they all work the same way – they include two HD44780 (or compatible) display controllers, one for the upper 2x40 characters and the other for the lower characters.
I’ve spent some time going over documentation for this controller, and implementing an emulated version in C. It outputs directly to a 1-bit bitmap in memory which makes it simpler to switch from my current Raylib UI to another front-end later. Also, I made it load the controller’s CGROM (character generator ROM, basically the font used on the display) from a file. The current font is the standard A00 CGROM.
Here are a few highlights from developing the LCD emulator:
First time capturing bytes written to the LCD I forgot how I laid out the LCD bitmap Got everything working!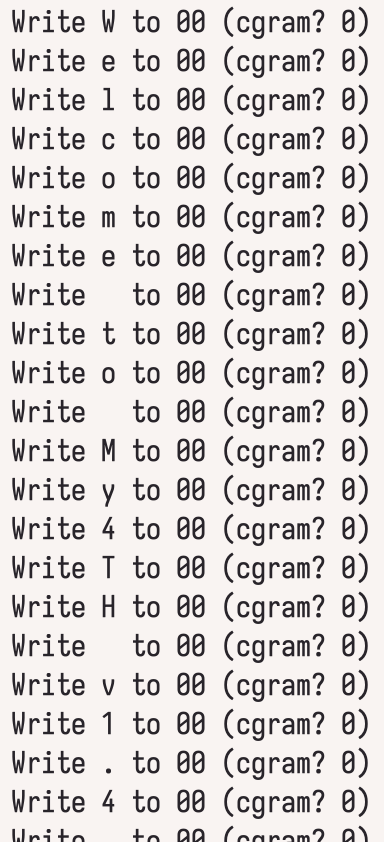
I think this supports basically all functionality of the real LCD apart from scrolling. My4TH doesn’t seem to use the scroll feature, but I will probably add it at some point anyway. The next things I want to do are link up the key states to an emulated key matrix, and then clean up the code. For now though, a break from this sounds good – plus I’ll do today’s Advent of Code :)
Day 8: My4TH Keyboard
I got the keyboard working in Your4TH today, which I think makes the Forth Deck emulation complete? The keyboard uses a matrix arrangement, where each of the 56* buttons is attached to a row output pin and a column input pin. The My4TH board then turns off (all outputs are kept high by default) each row pin in sequence, and checks the input value to see which keys are pressed. So what about that * after 56? That’s where I lied to you, since the matrix layout used by the Forth Deck is 9 × 6, which only accounts for 54 keys. The other two keys are a little different.
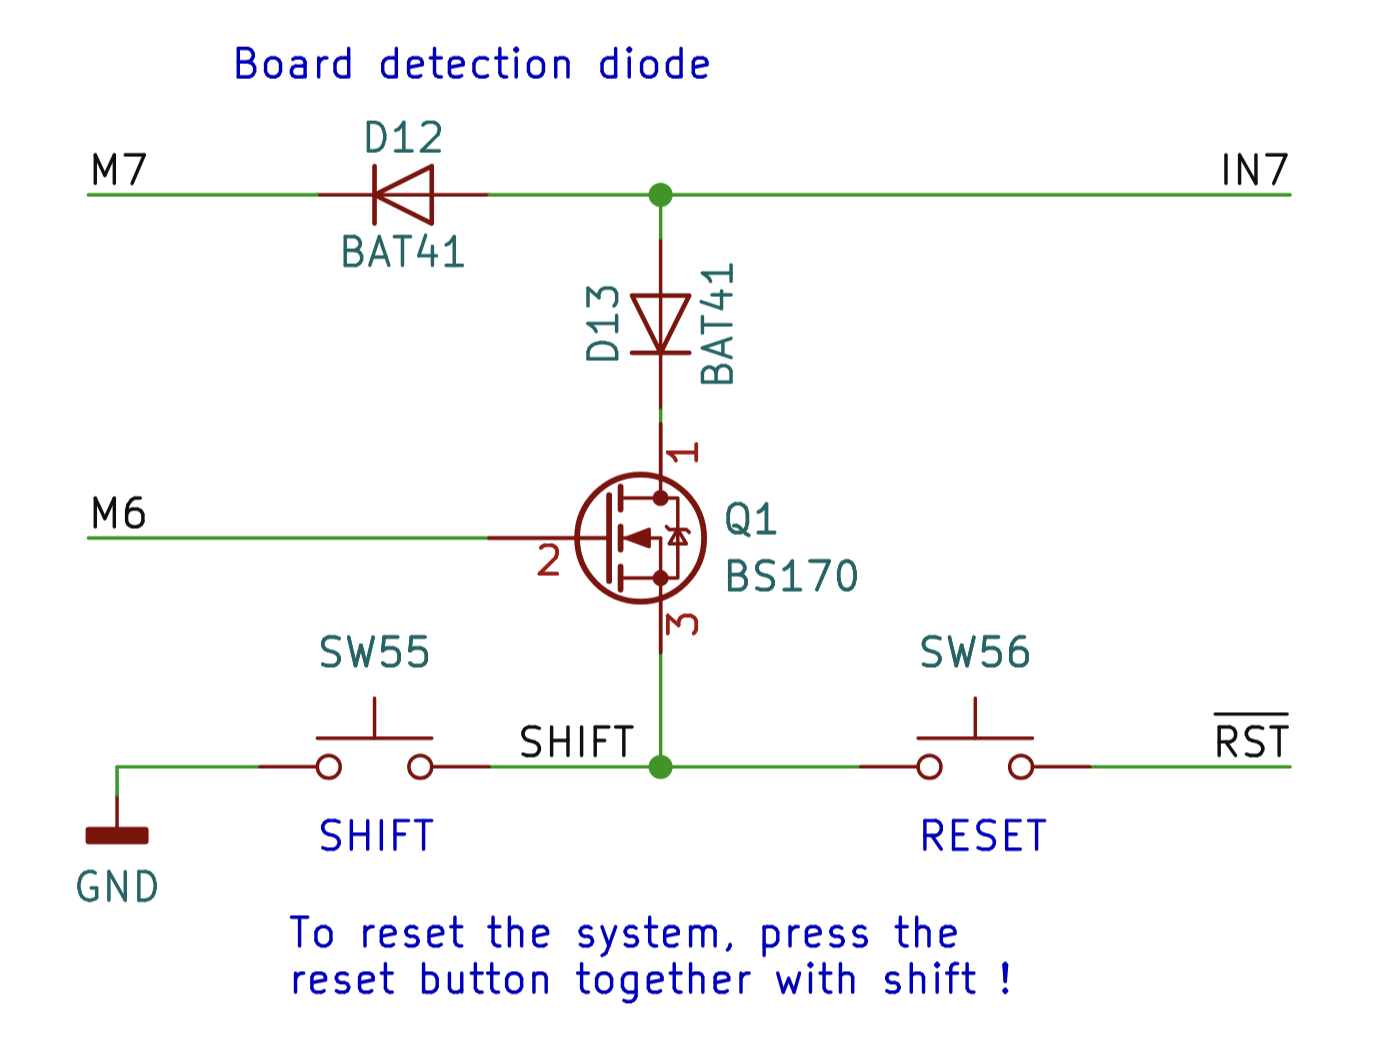
Forth Deck Shift/Reset schematic. Copyright Dennis Kuschel, used under Creative Commons Attribution-ShareAlike 4.0 International License.
The board detection logic was the first part of Forth Deck I implemented in Your4TH, because it determines whether the computer will output to UART or the LCD. It turns out that the same input pin is used for the shift key, as shown in the schematic above. Whenever M6 (one bit of the internal shift register) is set low, pressing shift will pull IN7 low. M6 is needed to control it because otherwise the shift key would interfere with both board detection and, more importantly, with the nine keys that use IN7 in the keyboard matrix.
It took me a little bit to figure all this out, so I was stuck without a shift key for a while. Once I did though, it was simple to implement, and the keyboard seems to work in its entirety. I didn’t implement Reset yet because it’s not critical to the operation of the deck, plus the current code is a bit of a mess with random globals everywhere, so resetting the system is not as easy as it should be.
My next goals for this are:
- Just play around with My4TH for a bit, maybe try writing a simple game?
- Clean up the pile of random global variables that make up the current version of Your4TH.
Day 9: Nothing
Today, I rest.
Day 10: Writing Forth
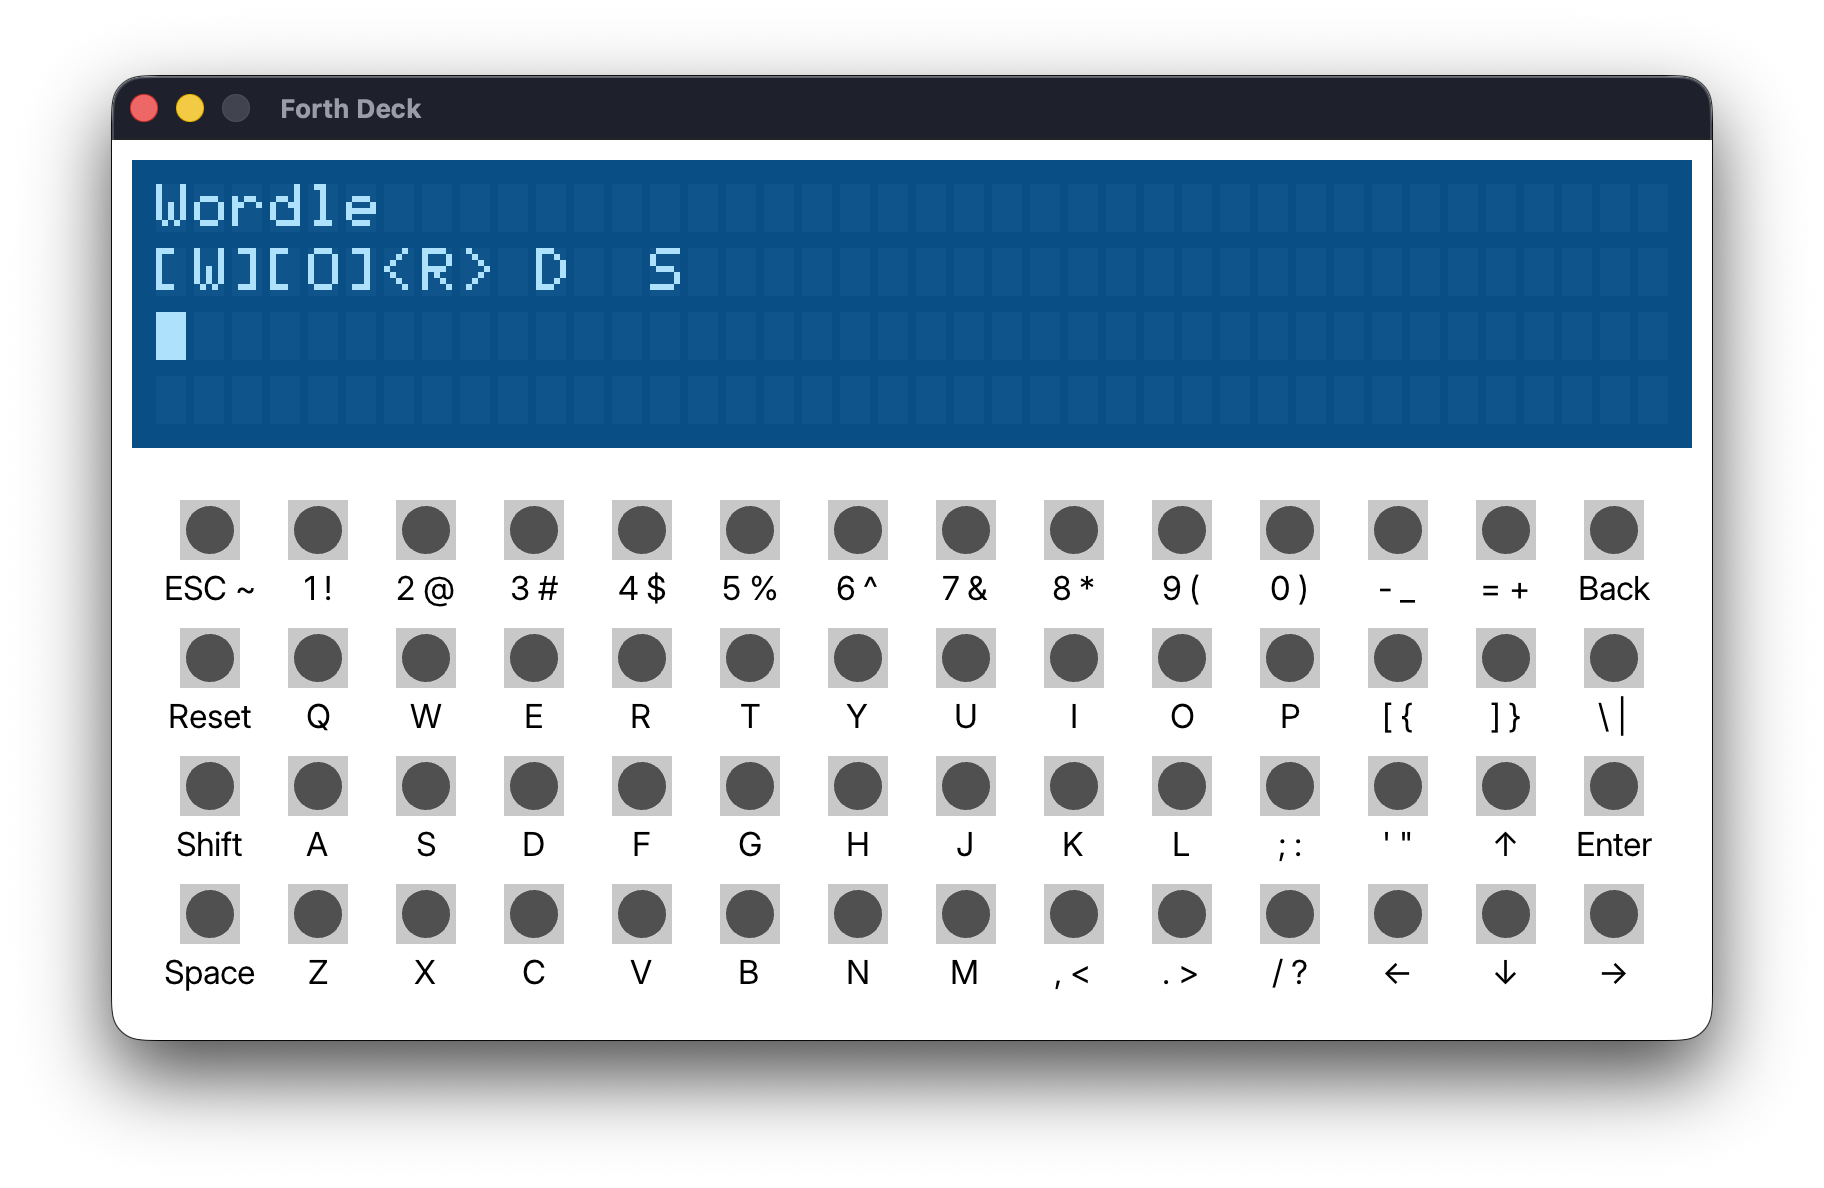
I’ve picked a simple game to write in Forth for the Forth Deck (although I’m not limiting myself to the Deck’s editor): Wordle! I’ve made a Wordle clone before, but this one presents a few interesting limitations. Due to the limited memory and very limited speed of My4TH, I’m simplifying things a bit by not requiring that guesses be real words.
I started by putting together some display routines that can show basic Wordle results on the simple LCD screen. Surrounding each letter with brackets instead of using green/yellow seems to work ok.
: MK DROP + C@ EMIT ;
: MK< S"  <[" MK ;
: MK> S"  >]" MK ;
: SHOW-LETTER OVER MK< EMIT MK> ;
: SHOW-WORD 5 0 DO OVER I + C@ OVER I + C@ SHOW-LETTER LOOP 2DROP ;
Here’s how it looks:
Also, I contributed a small but useful change to the Pebble SDK – in the next update, BDF fonts can be imported directly for custom pixel-perfect text. All the support was already there, I just needed to mark the extension as allowed.
I think in the near future I’ll write an Aseprite extension or a tool that uses exported Aseprite slices to generate a BDF, since I don’t really like any existing BDF editors.
Break Time
Hey, quick update for anyone following this. I’m still working on stuff in my own time, but until I finish work for the year I’m going to put the blog updates on hold.
Day 20: Pebble Time Again
I want to do more Pebble development, because a new face idea has forced its way into my brain and will not leave until it exists on my wrist.
The idea is something like this:

I call it “Spindows”!
Anyway, to get this onto a watch, the first thing to figure out is how to draw part of a digit. I made a fresh Pebble project and started tinkering with ideas. I ruled out a couple of ideas first, because I figured they would be too much for the weak microcontroller in the watch:
- Store the digits as paths, compute intersections between the digit polygons and the rotating blades, then fill the resulting polygons. This would be particularly challenging for digits with holes.
- Just iterate every pixel on the screen like a shader, figuring out which masked region it falls in and sampling the correct digit texture.
I only need to redraw during the transitions, but even still, both approaches felt too heavy. They could be last resorts though.
Multiple Layers
The Pebble SDK supports adding multiple layers to a window with independent redraw functions. It took a while to figure out the details, but I was pretty sure I could use multiple layers to draw a wipe transition between digits relatively efficiently.
Here’s a visual explanation of how that would work:
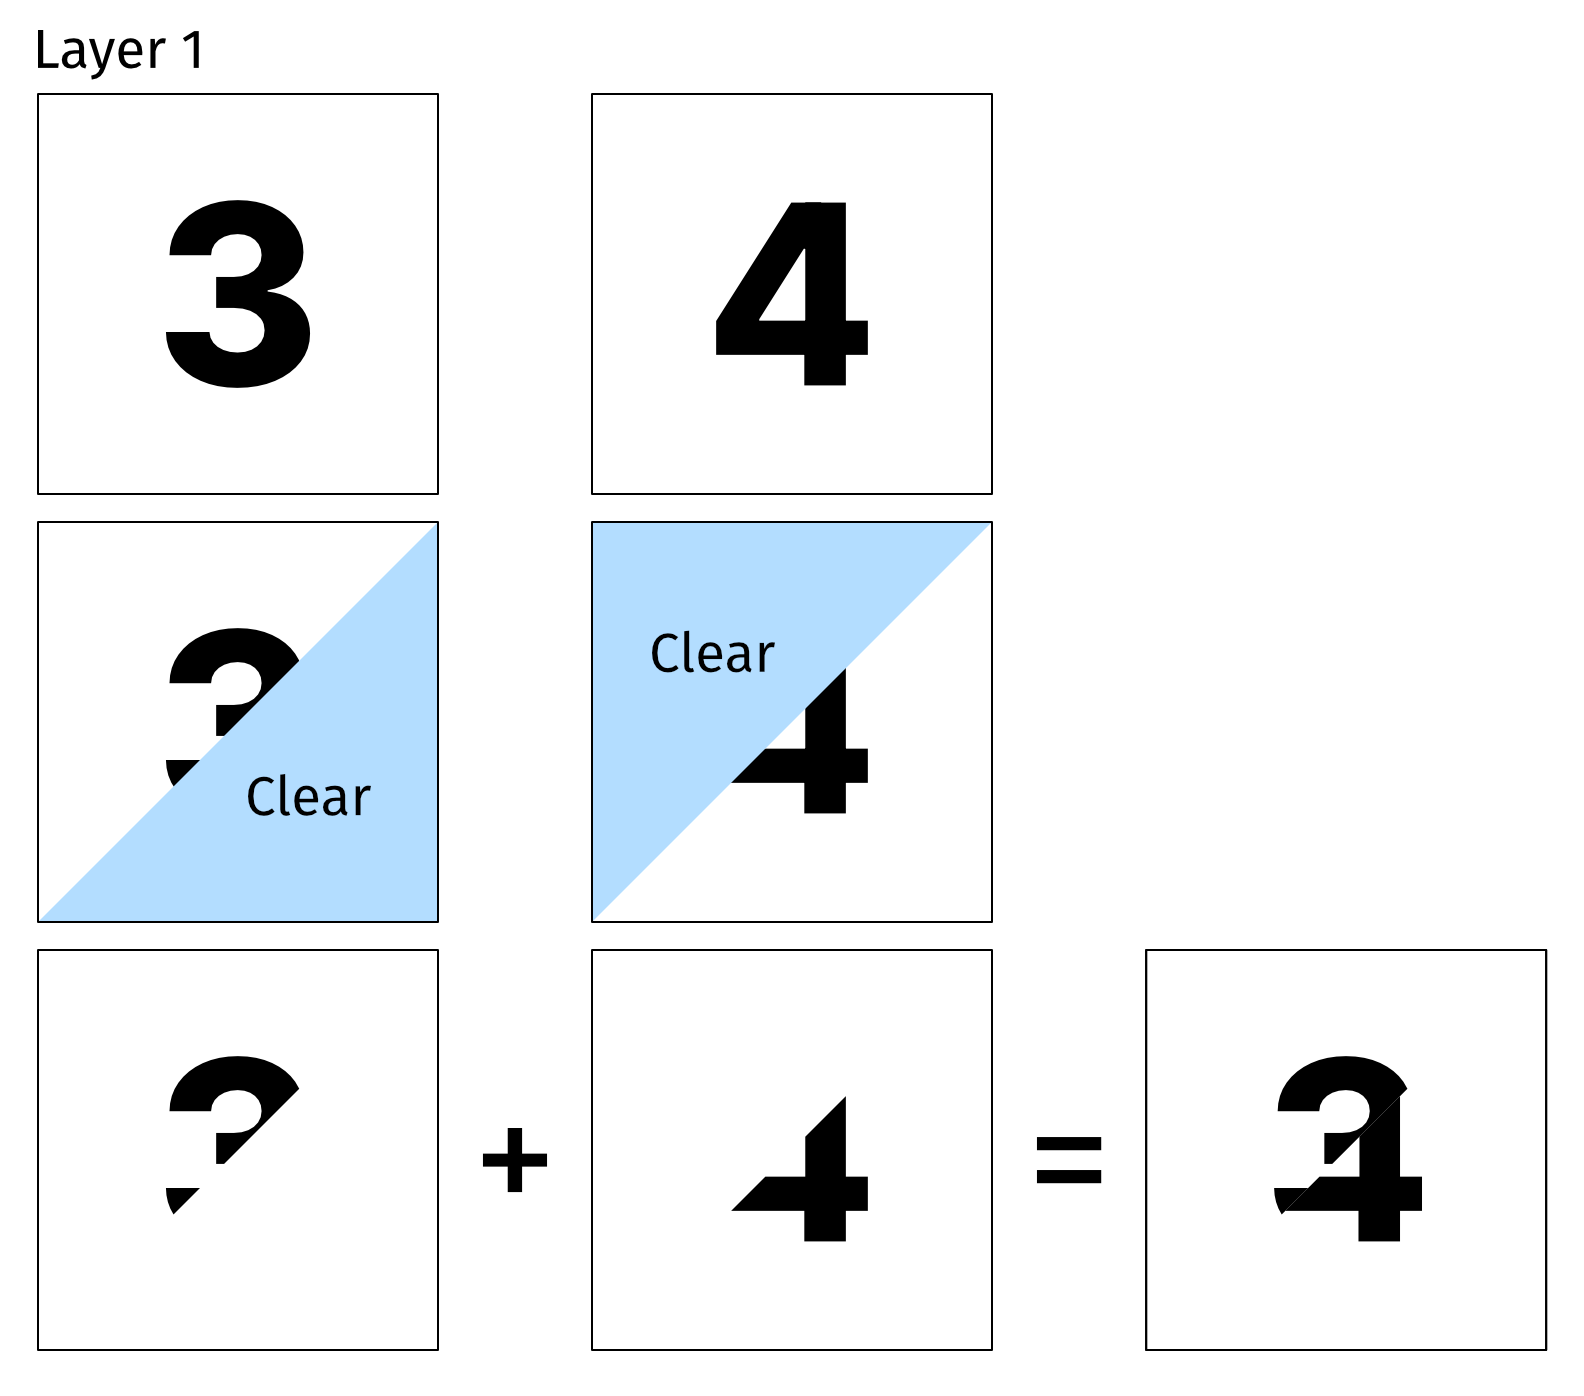
So I went ahead and implemented that, starting simple by masking with a rectangle instead of a polygon. Long story short, that doesn’t work. PebbleOS doesn’t really mix layers together like that, layers are more like a way to organise your code than true layers with compositing. When I erase something while drawing the top layer, it erases anything on screen.
Pre-rendered Animations
The next idea I tried out was pre-rendering all the animations. Unfortunately, depending on which quadrant a digit appears in, it animates differently. It also animates into view one way, and out of view another way. Even ignoring the impossible cases (like anything over 2 as the first digit), I would need 58 different pre-rendered animations. Based on some testing I found about 12-16 frames of animation looked nice, and while I could choose to cut that down a bit, it would go over the Aplite (Pebble Classic) size limit no matter what way I looked at it.
Combine the Ideas
What if…. pre-rendered animations, but also store them as paths? Pebble supports a custom vector format called PDC (Pebble Draw Commands), which includes support for animations. PDCs take up far less space than bitmap images, are good for large, simple shapes like the digits I’ll use, and are fairly quick to render. I started playing around with this idea, and then…
Palette Swapping
I think this is the one I’ll go with. I realised that the animation frames are not actually independent. Really, we’re making a gradient following the direction of the sweeping blades. Pixels switch off (when a digit disappears) or on (when it appears) in a clockwise pattern. Actually, they switch on and off in the exact same way, so I can even avoid having 2 animations per digit.
By actually creating this gradient in a bitmap, I can use 29 4-bit bitmaps, which I estimate would take a similar amount of space to the PDC approach, perhaps less because I want this font to have some nice curves and be less blocky than Shine Through’s.
PebbleOS supports paletted bitmaps, which I already used for the transparency effect (on colour screens) in Shine Through, so I can just update the palettes and let the OS take care of the rest of the drawing. I can even get away with just two palettes for all eight digits that might be on screen at once – one for appearing digits, the other for disappearing ones.
I still need to build a proper proof of concept, but I think this should work well.
Comments
Please note: this comment system is experimental and may be removed.
Rules: Be excellent to each other!